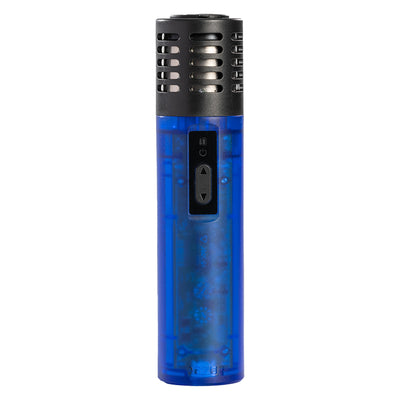
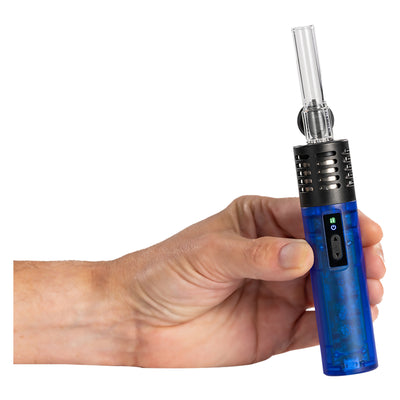
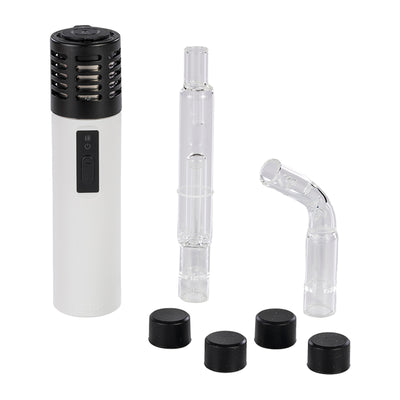
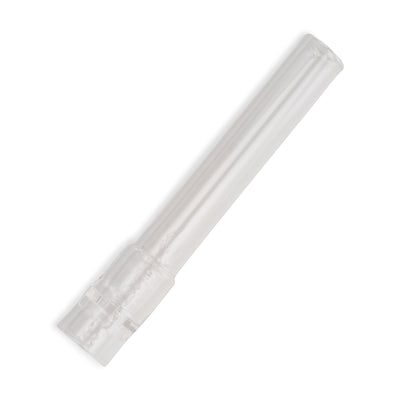
The Arizer Air SE dry herb vaporizer is extremely easy to use. With only two buttons and five preset temperatures, the Air SE will only take a few sessions to get under your belt. Let's dive in and set up a great first session with your brand new vaporizer.
Quick summary
- Fully charge it
- Run a burnoff session to cleanse it
- Grind your herbs and pack the stem
- Turn it on and set the temperature to Green
- When it's ready, take soft, easy draws
- Clean up when you're all finished
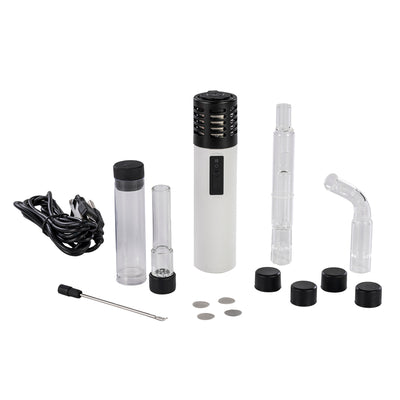
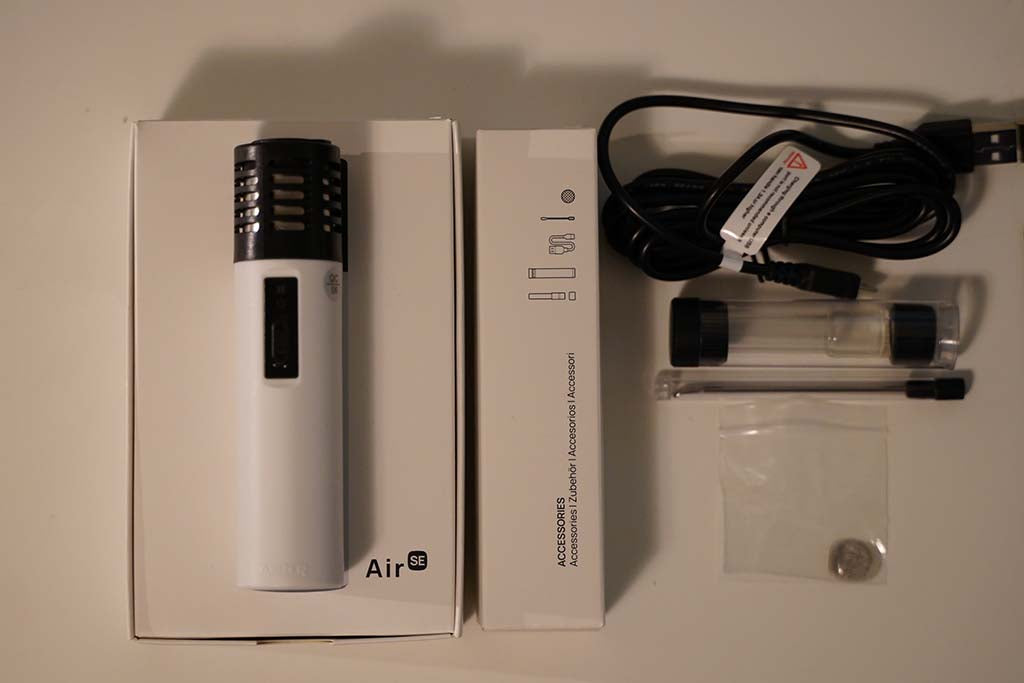
What's in the box
- Arizer Air SE Vaporizer
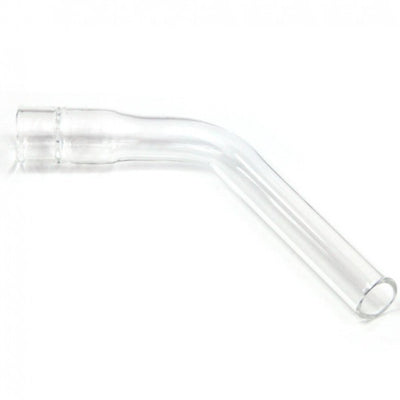
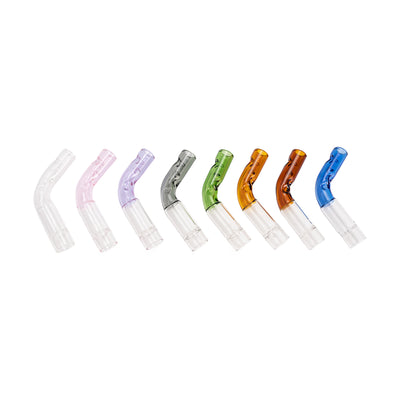
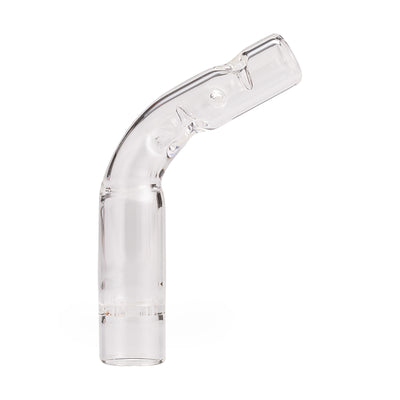
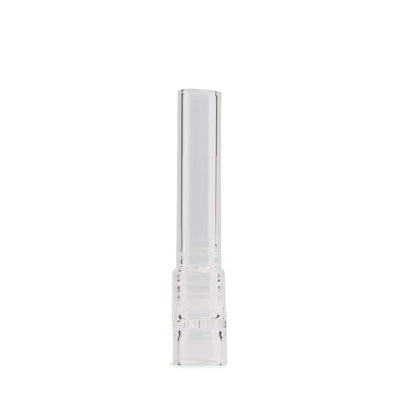
- Glass Aroma Tube
- PVC Travel Tube
- Micro-USB Charger Cable
- Stainless Steel Stir Tool
- Replacement Screen Pack
- User Manual
Charge it
Let’s fully charge the battery before we get started. Take the included micro-usb charge cable, plug it at the bottom, and let it charge until it’s ready to go. The lights will turn on and blink with the current battery charge and then turn solid green when it’s ready to go.
Battery Levels:
- Green: 100%
- Blue: 70%
- Yellow: 40%
- Red: 10%

Two button controls
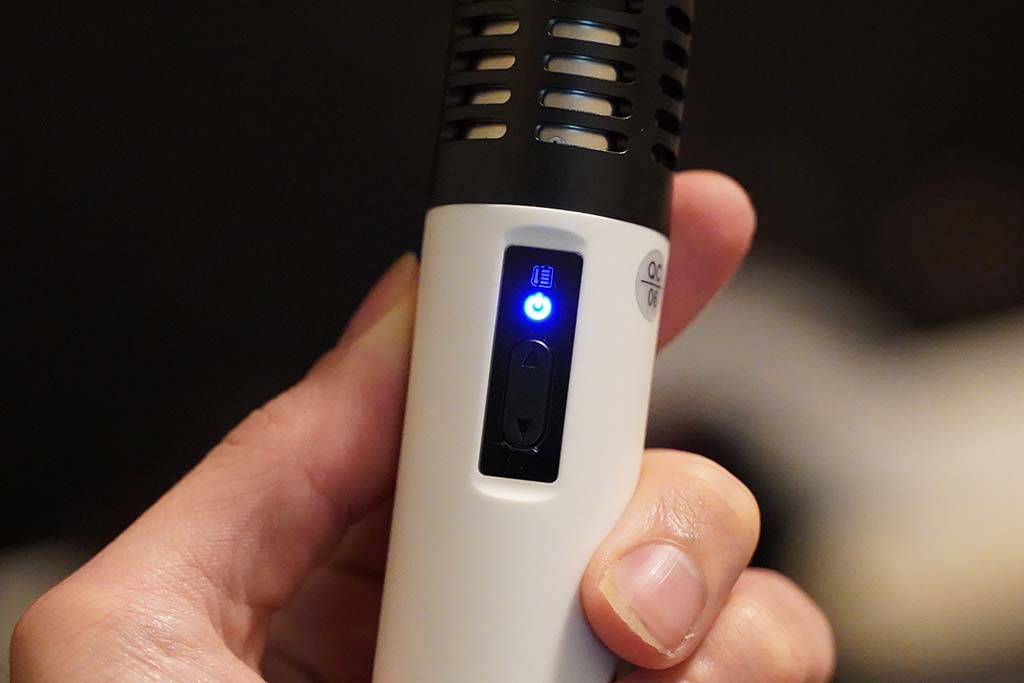
The Air SE dry herb vaporizer comes with just two buttons to choose your temperature and power it on and off, and two LED lights to tell you what temperature it’s on, the current battery level, and when it’s heating up or ready to vape.
To turn it on, press and hold both buttons until it beeps and the lights flash. Then, use those same buttons to scroll up and down through the five temperature settings and it will immediately start heating up when you land on one.
Run a burnoff when it’s ready
Before we get started, we’ll run a burnoff session to cleanse the vape of any manufacturing oils or residues. We’ll do this while it’s charging so take the vape while it’s still plugged in, turn it on, and set it to Red - the highest setting. Insert the glass stem and let it run for at least a few minutes. The session will shut off after 10 minutes but you don’t need to run it that long. We’ll go ahead and pack or first session once it’s finished

Grind and pack the stem
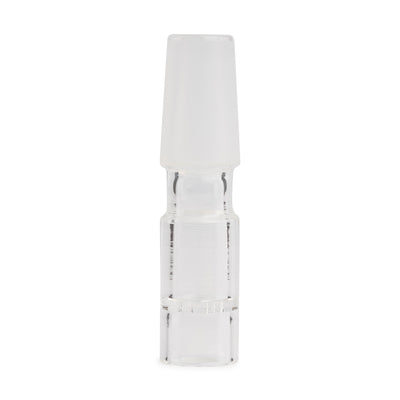
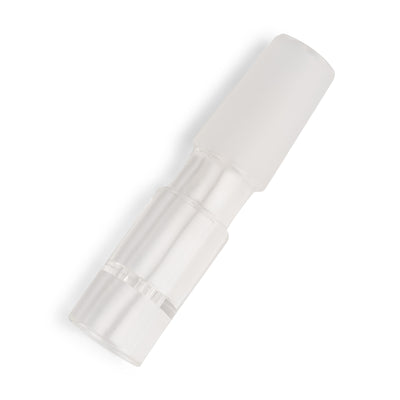
Arizer portables, like the Air SE, are great with a variety of grinds and packs but perform their best with a medium to medium-fine grind and a soft tamp. Any grinder you have will likely work just fine so grind some up and fill the stem up to the top and tamp it down flush with the rim, just enough to set the herbs in place. Then, hold the vape upside down and insert the stem inside the heating chamber so nothing spills out.

Turn it on and set the temperature
Now we’re ready to fire it up. Turn it on and use the top button to select the Green temperature setting (392°F / 200°C). You don’t have to press anything to engage the heater. Just land on a setting and it will immediately start heating up. Once the blinking light turns solid, it’s ready to vape.

Take a slow, soft draw
When you’re ready, take a slow, relaxed draw from the mouthpiece of just a few seconds to get a feel for it. You’ll feel the warmth but probably won’t get a whole lot of vapor on the first hit. It’ll ramp up as the session progresses so take another slow pull until you feel the vapor start to build and then exhale. Take as many or as little hits as you want until you’re finished and then turn it off or let it shut down by itself. And that’s it!
No stirring necessary
Like most of Arizer’s portable vaporizers, the Air SE does a great job extracting your herbs with no stirring required, but it can vary depending on the type of user you are, how you pack it, and how you hit it. If you want a few more hits out of it, give it a gentle swirl with the included stir tool and tamp it down, bump the temperature up, and fire it up again.
Clean up when you’re finished
When you’re all finished with your session, dump the herbs out of the stem and discard them. You can either use the stir tool to fish it out or blow through the stem and into a waste bin. Clean out any bits that are left in the heating chamber as well. Make sure you do this right after each session, while the vape is still warm, to prevent any sticky buildup in the long run.


