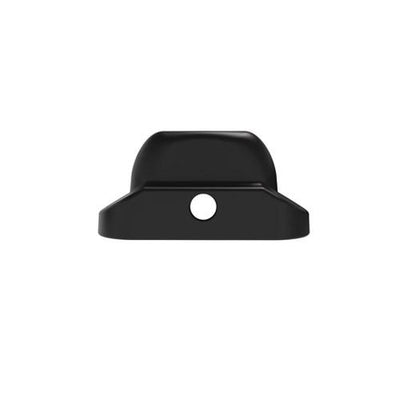
The PAX 2 and PAX 3 are super simple to use, and cleaning them is just as easy. With only a few pieces to remove and an easy-to-clean vapor path, deep cleaning is a walk in the park. Follow along as we restore your PAX to its former glory.
PAX 2/3 Cleaning and Maintenance: What you need
Grab these few items to get started:
- Rubbing alcohol
- Small dish for soaking
- Pipe cleaner
- Cotton swab or paper towel
- Long stir tool/pick
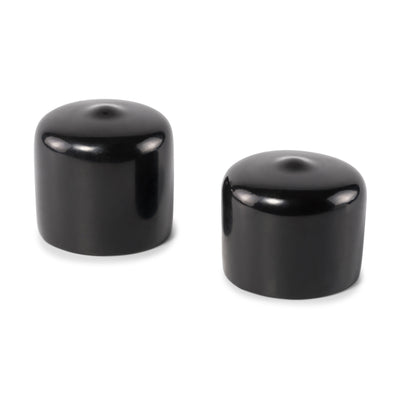
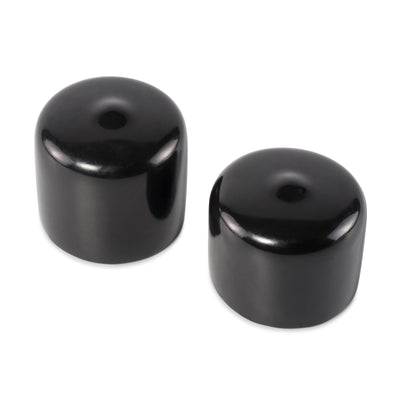
If you’re short on supplies, the PAX Maintenance Kit comes with a few cleaning tools and replacement parts to get you going.

Disassemble and soak
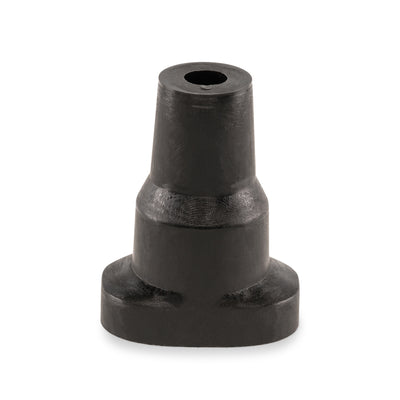
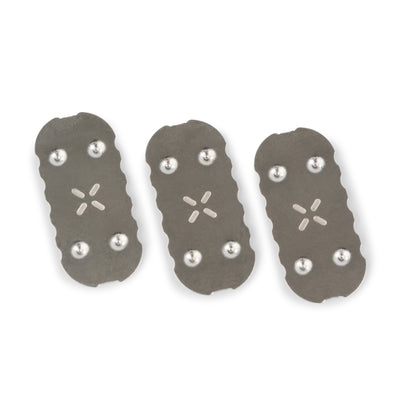
The mouthpiece and oven screen are the only pieces that need to soak, so start by removing the silicone mouthpiece and the oven lid. Grab your long stir tool/pick and feed it through the mouthpiece end, through the vapor path, and poke out the metal oven screen.

Then, take the silicone mouthpiece and oven screen and let them soak in rubbing alcohol for about an hour. PAX advises against soaking the oven lid, so set that aside for later.

⚠️The PAX 2 Vaporizer has been discontinued. Check out the new PAX Mini for a simpler, more efficient alternative.
Read the PAX Mini reviewShop PAX Mini
Clean out the vapor path and oven
While those are soaking, take a pipe cleaner dipped in rubbing alcohol and floss it back and forth through the vapor path. Tough messes may need a few pass throughs so repeat this as necessary.

Then, take either a cotton swab or paper towel dipped in rubbing alcohol and wipe your PAX oven clean of any sticky gunk. A bit of discoloration in the oven is perfectly normal after a little use, so don’t fret.
Finally, take a small amount of rubbing alcohol and wipe down the oven lid and the mouthpiece end of any debris or sticky gunk. After the remaining pieces are done soaking, rinse them in water and set them out to dry before throwing it all back together.

Put it back together and run a burnoff
Once the mouthpiece and oven screen are nice and dry, go ahead and throw them back into your PAX. Then, turn your PAX on and set it to the highest temperature (four red petals) and let it run an entire session to cleanse the oven and vapor path of any remaining residues. That’s it!

Tips for a cleaner vape
To keep your PAX running fresh for longer, take a few seconds after each session to brush and clear out the oven and oven lid of debris. Mess builds up as your herbs cool down and solidify, so be sure to clean it out while it’s still warm. Make this a habit and you’ll be in great shape!


